10 Ways to be an Expert in Canva Pro
- Molly Jacobs
- Apr 4, 2023
- 4 min read

Canva is a great tool for everything design: content creation, presentations, organization, and a million other things that would take an entire post to describe. If you are even remotely involved in communications or marketing, odds are you have used or least heard of Canva. Canva has two versions: free and Canva Pro. While the free subscription is a good option, Canva Pro simply cannot be beat.
In this post, I am going to spill the beans on ten tricks that will make Canva work for YOU, including
Moving objects and images in layers
Canva Resize
Brand Kit
Keyboard shortcuts
Tidy up
The paint roller
Background remover
Locking elements
Gradient tool
Grouping
Moving objects or images in layers
If you are like me, there is nothing worse when you are mid design and realize you need to tweak an object that is hidden or on the bottom layer, with no way to get to it without moving all the others ones. In Adobe programs, you can get around this by going to the layers panel, Canva doesn’t have a layers panel, so here is a simply way to get to that back layer.
Press Ctrl (or Cmd on a Mac) + click on the top layer
While still holding Ctrl/Cmd, keep clicking until you get to the desired layer

The first layer will stay selected, so just focus on the second selection as it moves through the layers
2. Canva Resize
Because creating content for social media is always such a breeze, creating the same designs for different platforms, which of course all have different dimensions, takes forever. Canva saw us pulling our hair out and decided to take it easy on us with their Canva Magic Resize feature.
Canva Magic Resize has template sizes for a multitude of platforms and designs, from Facebook to Instagram Reels to Zoom Backgrounds.

Make sure you hit Resize and not Copy & resize, as it will.. copy it to a new design
3. Brand Kit
One of the cardinal rules of branding when it comes to design is consistency.
Canva makes this seamless with their Brand Kit, which allows you to keep logos, colors, and fonts all in arms reach.
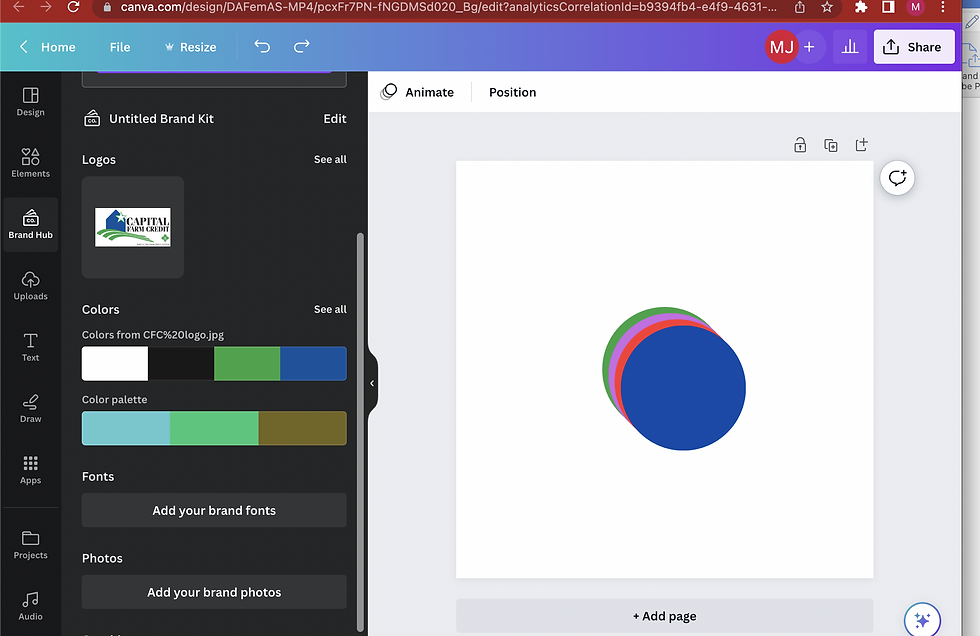
You can get to your Brand Kit from the Canva Homepage also
4. Keyboard Shortcuts
If you are like me, keyboard shortcuts are my LIFESAVERS
Canva made this great little cheat sheet that I promise you makes a world of difference

Image from Canva.com
5. Tidy Up
While Canva has guidelines that helps to align different elements, the Tidy Up feature makes this fast and easy!
Press Ctrl (Cmd) + click on the elements you want to align.
Click the …
Click Space evenly
Click Tidy up

Don’t be scared to play around with the alignments, you can always command Z!
And you’re done!
6. Copy style (paint roller)
If you are designing a piece where you need to copy
Font size
Typeface
Transparency
Color
Filter
Effects
All you need to do is select the elements you want and go up and click the paint roller.
You’re ready to go!

This is a GREAT tool for when you have multiple pages of a design
7. Background remover
This feature has saved me more hours than almost any other feature Canva has to offer.
While Adobe Photoshop is the big guns, I have found that Canva’s background remover tool is just as great, and simpler to use.
Simply click on the image, click edit photo on the tool bar then Background Remover.
If needed, you can edit the selection and fine tune the image after!
Easy. As. Pie.

The background remover is just one of several great photoshop type tools
8. Locking elements
Locking isn’t just an Adobe thing anymore!
The locking tool allows you to “lock” any element in your design, keeping it from getting deleted, moved, or skewed somehow in the process.
Click on a element
Click the padlock icon on the top toolbar

This is also great for when you are sharing designs with others so things don’t get moved around!
And you’re done!
9. Gradient in Canva
This trick is a little under the radar, so I am so excited to share this one. Canva doesn’t have a true gradient tool in their toolbox yet, but we can get around that.
Under elements, search “gradient” in the search bar.
Click one under “graphics”
Fill up the whole page
Adjust the color and transparency in the top toolbox

Note: sadly, you cannot adjust where the gradient line sits. You can adjust the image to adjust this a bit.
10. Grouping
Last, but certainly not least, is grouping your elements.
Grouping your elements makes moving designs and texts around while maintain their alignment.
Ctrl (Cmd) + click on multiple elements
Ctrl (Cmd) + G or click group on the right hand menu

To ungroup: click Ctrl/Cmd + shift + G
I hope you will use these tips and tricks in your designing. The best way to learn these tricks is to USE THEM!
Comments